Opening a bottle of wine is more than just a necessary step to enjoy your drink – it’s a ritual that sets the tone for an elegant experience. Imagine the refined grace of a butler or sommelier: every movement precise, every detail attended to. With a bit of guidance, you can bring that same butler-style elegance into your home. This article will teach you how to open a wine bottle like a professional, using Bellan’s engraved stainless steel and wood wine opener as your trusty tool. We’ll cover a step-by-step guide to uncorking wine the right way, share tips for polished wine service, and help you elevate your at-home wine moments with confidence.
Modern wine service is all about combining professional technique with a personal touch. Whether you’re hosting a dinner in Johannesburg or simply enjoying a Cape Winelands Cabernet with friends, mastering the art of opening and serving wine will impress your guests and make the occasion feel truly special. So, let’s uncork that knowledge – and the wine – with style.
Video Tutorial:
Step-by-Step: How to Open a Wine Bottle Like a Pro
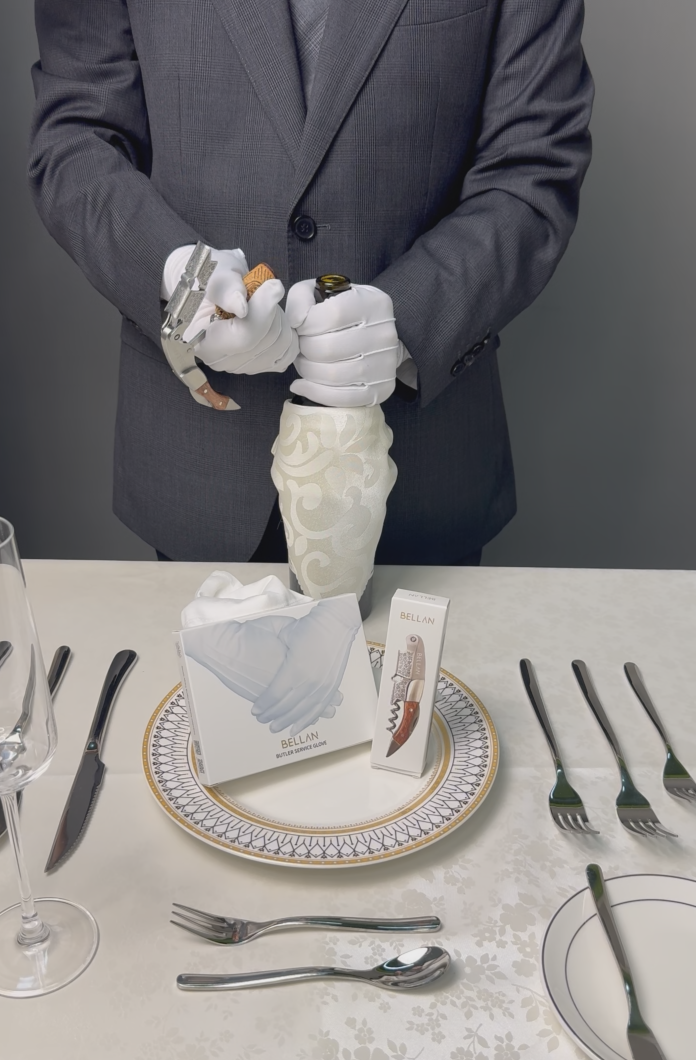
Step 1: Present the Bottle & Cut the Foil Cleanly
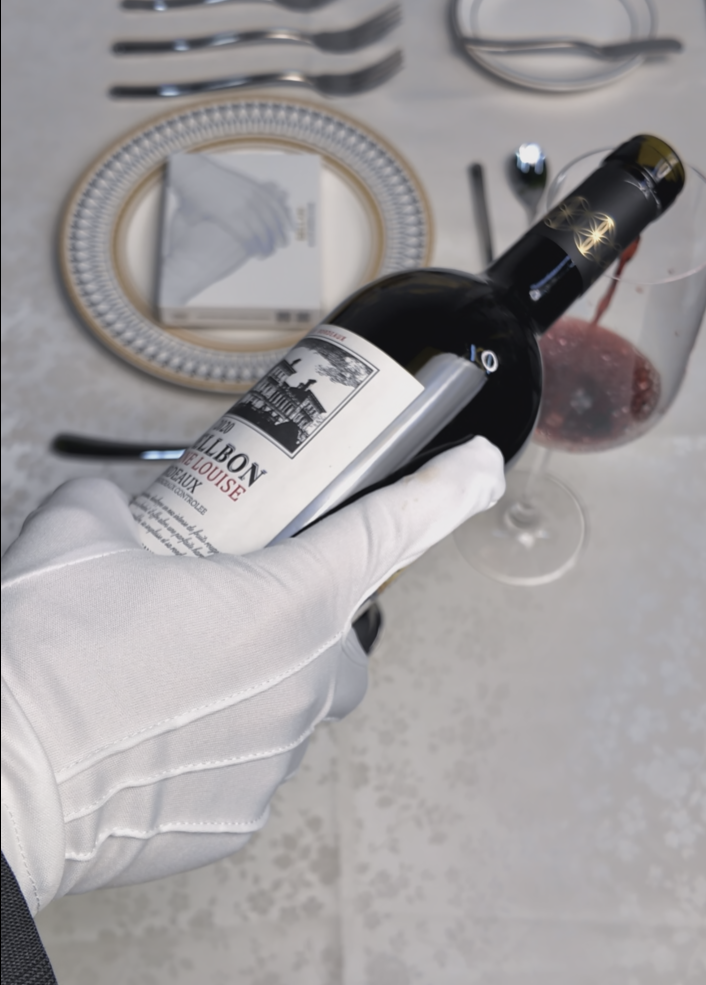
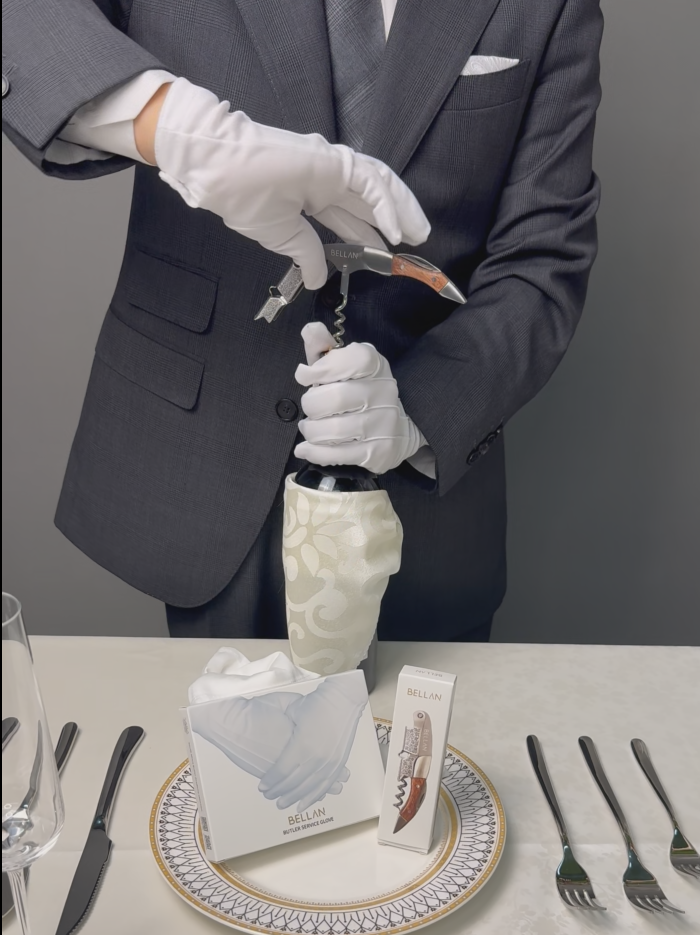
Begin by presenting the wine bottle upright. If you want to channel a true butler or sommelier, hold the bottle steady and ensure the label faces your guests (or simply front and center if you’re alone). Next, it’s time to cut the foil seal. Using the Bellan opener’s small serrated foil cutter blade, cut the foil just below the bottle’s lip (the raised ridge beneath the opening). This position ensures no torn foil will touch the wine as it’s poured, and it creates a neat edge. Work the blade around the neck of the bottle in a smooth motion, keeping your fingertips safely below the blade. Once you’ve scored the foil all the way around, remove the foil cap to expose the cork. If any foil remains, peel it off for a clean finish. Finally, pocket the foil (or discard it discreetly) – a professional never leaves a mess on the table.
Pro Tip: Make sure your wine opener’s blade is sharp and serrated; it will cut foil more easily and cleanly. In professional settings, the foil is often removed in one smooth ring – practice will help you get there. If the bottle has no foil (for example, some dessert wines or a wax seal), you can skip this step or carefully remove any wax before cork extraction.
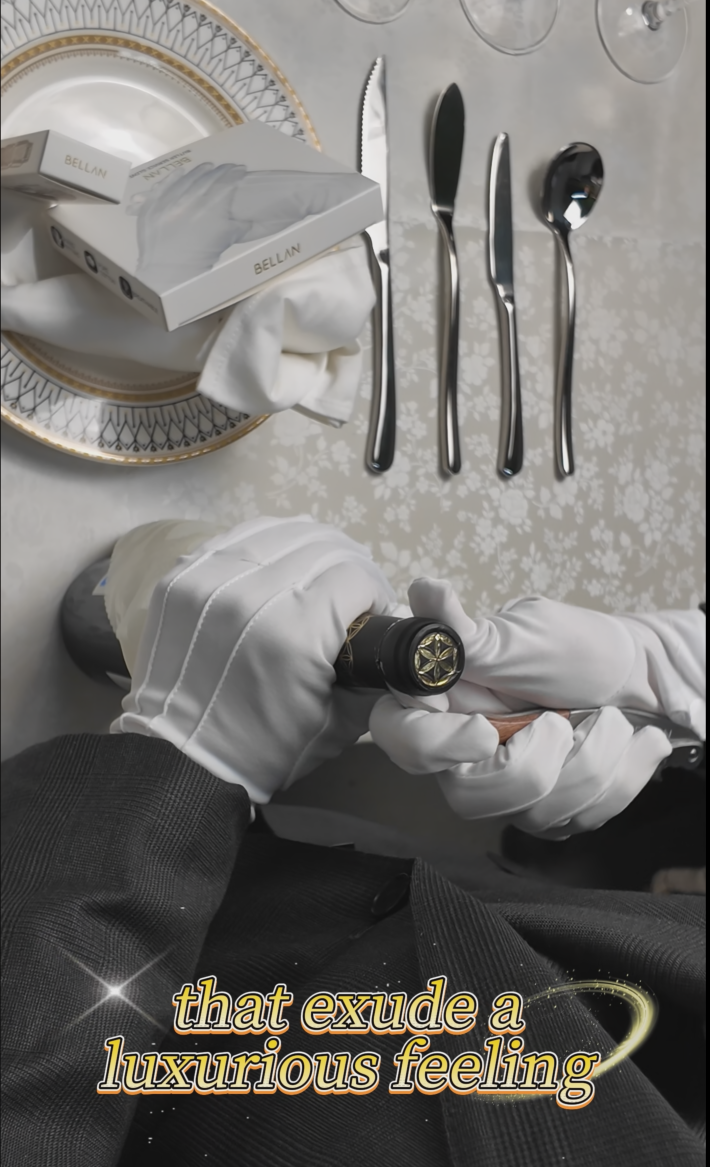
Using the Bellan wine opener’s built-in serrated blade to cut the foil cleanly just below the bottle’s lip.
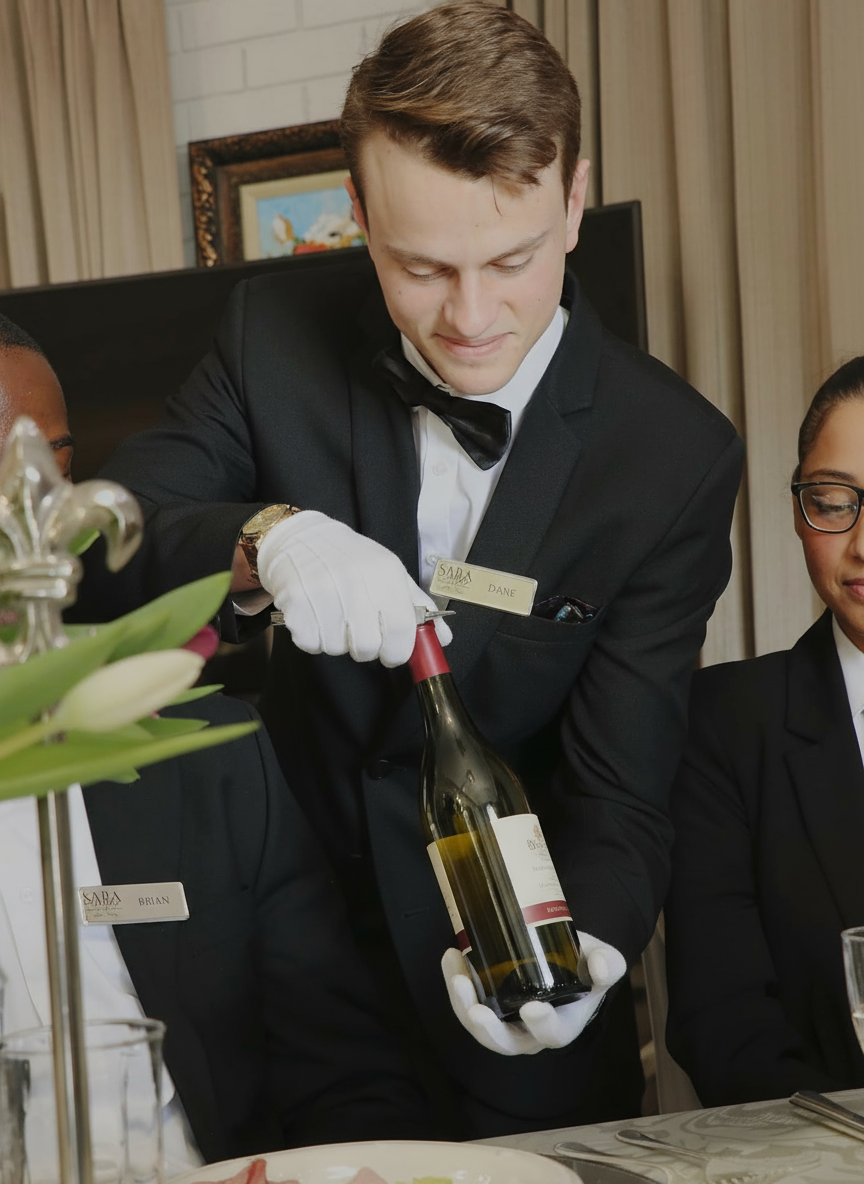
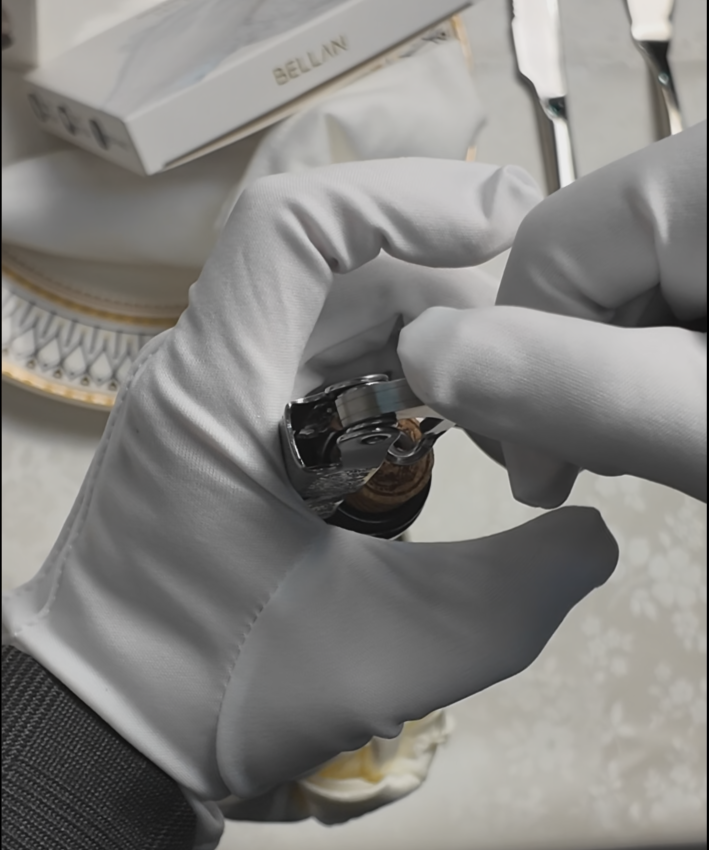
Step 2: Position the Corkscrew and Insert the “Worm”
With the cork now visible, position the corkscrew (the “worm” of your Bellan opener) at the center of the cork. For maximum control, keep the bottle steady on a flat surface like a countertop; if you prefer holding it in the air, tilt the bottle to about a 45° angle against your body for support. Now, press the tip of the corkscrew slightly off-center on the cork’s top and begin twisting clockwise. The worm will naturally find the center as it digs in. Rotate the corkscrew 5 to 6 half-turns (about 3 full turns) into the cork, or until only one curl of the metal remains visible above the cork. Take care not to drive the screw all the way through – you want to avoid spearing the bottom of the cork, which can drop cork bits into the wine. The Bellan wine opener’s screw is designed to glide in smoothly; do not force it if you meet resistance (angling the screw straighter or resetting your position can help if it’s stubborn). A gentle, steady twist is all it takes.
Step 3: Leverage with the First Hinge
Now that the corkscrew is well seated in the cork, it’s time to use the opener’s lever, just like the pros. Bellan’s wine opener has a hinged metal arm (often called a bootlever in a waiter’s corkscrew) with two notches for a two-step removal. Start with the first hinge (the lower notch on the lever). Rest that notch firmly on the lip of the bottle. With one hand, keep the lever’s notch in place atop the bottle’s lip and maintain a secure grip on the bottle neck. With your other hand, begin to lift the handle of the corkscrew upward. You’ll feel the cork start to ease out thanks to the leverage. Go slowly and steadily – the goal is a controlled pull, not a sudden pop. As the first hinge does its work, the cork will rise about halfway out of the neck.
Step 4: Switch to the Second Hinge & Remove the Cork
After you’ve pulled as far as the first hinge allows, it’s time for the second stage of leverage. Position the opener’s second hinge (the higher notch) on the bottle lip. This gives you a new fulcrum to finish the job. Again, hold the lever firmly in place and slowly lift the handle of the wine opener. The cork should slide out almost completely with this second pull. For the last inch of the cork, it’s best to use your hand to ease it out gently once it’s loose enough. Grip the cork (or the corkscrew handle) and wiggle slightly if needed, pulling upwards with care. The cork will come free with a quiet sigh rather than a loud pop – a mark of true elegance.
Congratulations, your bottle is now open! Take a moment to admire the intact cork (a clean removal with no broken pieces is the sign of a job well done). If you’re pouring for others, set the cork down on a small plate or aside on the table; in formal service, the cork is often presented to the host as proof of the wine’s integrity and to allow inspection of its aroma. You can now discard the foil debris and proceed to serving.